Pages

Wednesday, 31 October 2012

Two blog project. First square.

If you remember, we, me and my friend Kristina, started a two blog project. You can read about it here. The main point was - Kristina makes a photo and I use this photo as an inspiration and make a crochet square. Later this squares will be joined in a blanket.
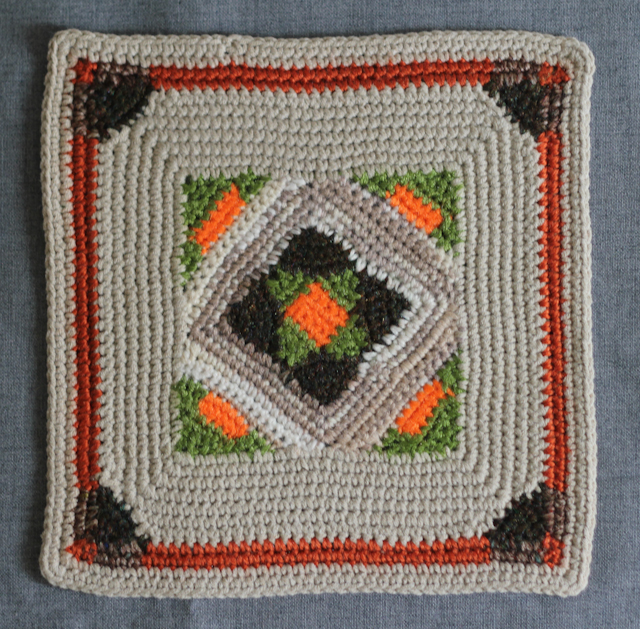
Today I'm ready to present my first square.
So, Kristina's photo was this:


And here is what I made:

IMG_3201

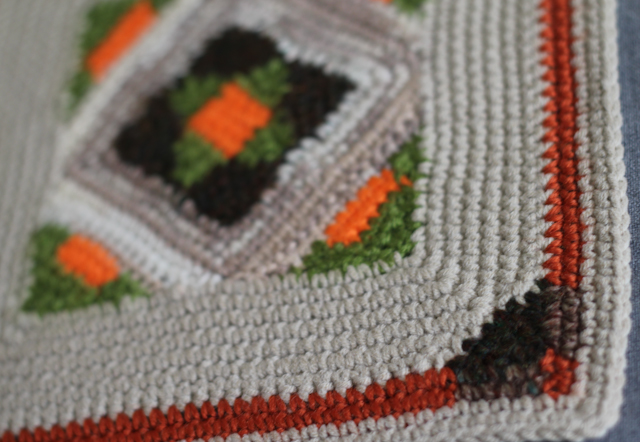
A close-up for you to see how I made it.

IMG_3202

Of course I had to make it much more simple than the original picture and as my husband said it doesn't look exactly like the picture, but the main idea was to use the picture as an inspiration, not as a pattern, so I think I made it quite good. And I like the result. Do you?

Monday, 8 October 2012

Be inspired! A two blog project.

As we all know, it's good to have friends. And it's even better to have creative friends who inspire you. This is what happens between me and my friend Kristina who is a photographer. And as we bot have blogs (mine about crafts, hers about photography) we decided to make a two blog project.
So, the idea is following: she takes a picture of something that caught her eye and I make a 20x20 cm crochet square using her picture as an inspiration. It won't be any old style granny squares, I want to create something totally new and modern. And, when there is enough squares, I will make a blanket from them to represent all our work in one big project.
If someone is interested in taking part and creating something beeing inspired with Kristina's photos you are more than wellcome to join us! All crocheters, knitters, quilters, artists are wellcome! Just let us know and share the links to your finished square in comments :) Here you also can find an original blog post from Kristina about our little project.

Now it's time for the first picture from Kristina. Here it is in all it's beauty:


Looks cool as I like orange :)
So, stay in touch and see what I can crochet from this :)

Tuesday, 21 August 2012

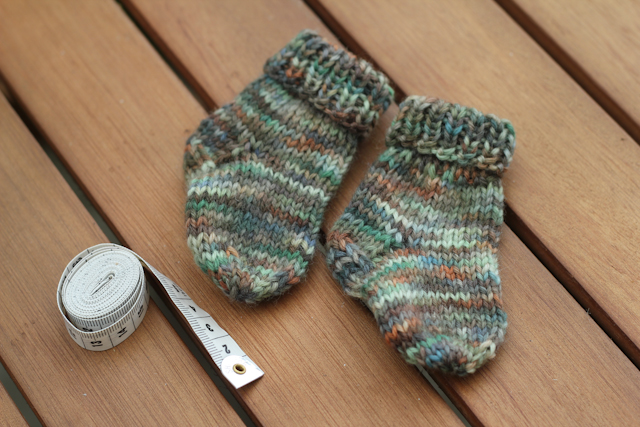
Baby socks free knitting pattern. 3-6 months

IMG_2768

As so many people like my newborn socks and some of them asked me to make the bigger size pattern too I finaly did it. I used double knit yarn, but it was actually quite fine for double knit (it allways surprises me how yarn can vary in DK range).
The pattern is similar to the newborn sock pattern, only the rib part folds in half when the sock is done, so it is made to be much longer than it was in newborn socks. Of couse, you can make the rib small, then you need to make 5, or 7, or 10 (definetly not less than 5) rows of rib in the beginning instead of 15.

So again you will need a bit of yarn and 2.5mm double pointed needles.

Cast on 28 stiches and divide them between 4 needles. There will be 7 st on each needle then. We'll work in rounds starting with the 1x1 rib.
Round 1: *k1, p1*, repeat 9 more times from * to *.
Rounds 2 - 15: repeat round 1
Round 16: knit
Round 17 - 25: repeat row 16
then work only on first and second needles, which means - with 14 st. Take them to one needle and work in rows.
Row 26: knit
Row 27: purl
Row 28 - 31: repeat row 16-17 two more times.
Row 32: knit 9, k2tog, turn
Row 33: take the first st off to the working needle (don't purl it!), purl 4, p2tog, turn
Row 34: take the first st off to the working needle (don't knit it!), knit 4, k2tog, turn
Row 35: take the first st off to the working needle (don't purl it!), purl 4, p2tog, turn
Row 36: take the first st off to the working needle (don't knit it!), knit 4, k2tog, turn
Row 37: take the first st off to the working needle (don't purl it!), purl 4, p2tog, turn
Row 38: take the first st off to the working needle (don't knit it!), knit 4, k2tog, turn
Row 39: take the first st off to the working needle (don't purl it!), purl 4, p2tog, turn

And you'we done the heel!
Knit that 6 st from the top of the heel, then cast on 4st along the side of the heel, knit the stiches from 3rd and 4th needle, cast on 4 st along the other side of the feel. Now you should divide stiches as following: 7 st on the 1st needle (4 from the side of the heel and 3 from top of the heel), 7 st on the second (the same as on the first one), 7 st on the 3rd, 7 st on the 4th.
Knit 14 more rounds.
Then you need to start decreasing to form the toes. K2tog in the beginning and end of each needle in every second row twice, then knit every two st together. You will have 6 st left. Cut the yarn leaving 15cm long tail. Using the tapestry needle sew the last st together and hide the yarn ends.
Repeat for the second sock!

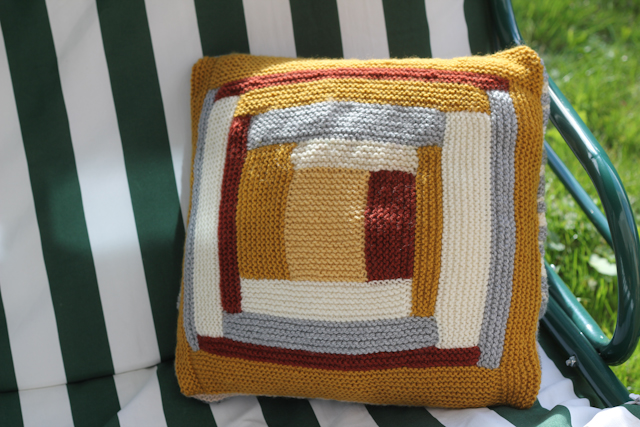
Knitting a log cabin

I've tried a new technick in knitting - the log cabin. Actually I was interested in this technic because of patchwork and was actually looking for patchwork tutorials. But found a really clever video on making a knitted one and decided to give it a try. In the same time my mum bought a new sofa and was telling me that the new cussions on it are just terrible - too light in colour and you can't remove the cussion covers to clean. So in the same time I was trying a new technic and making a cussion cover for my mum's new sofa. Can't tell that the result is brilliant but it was quite interesting to make.

IMG_2705

And here is the video I mentioned in case if someone wants to try it too.

Sunday, 19 August 2012

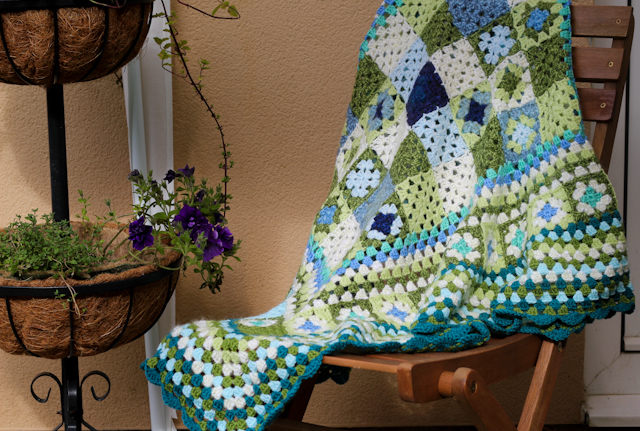
Ta-dah! Green fields blanket finished!

I finally finished my "Green fields" blanket! I started it just before Tte Little Man was born. Remembering the day in the hospital, when we had to wait for six hours (I'm kidding you not!) to get some doctors attention as I wasn't the urgent one and I was sitting there and crocheting... And then the nurse brought all the equipment to monitor the baby and it did show that I was actually having contractions, just didn't feel them! Oh, this memories are the ones that probably allways will be with me as the sweet ones, also all the rest 9 hours were full of pain, but in the end The Little Man was born and it was one of the happiest moments of my life.
Anyway, back to the blanket. It took me almoust nine months to finish, but now I'm proud to present it to the whole world :)

IMG_2697

The edging is my favourite scallop edge:

IMG_2698

So now it is given to my mum as a Birthday present, newer mind her Birthday is the 10th of September. I just couldn't wait for so long! And I'm really glad she likes it :)

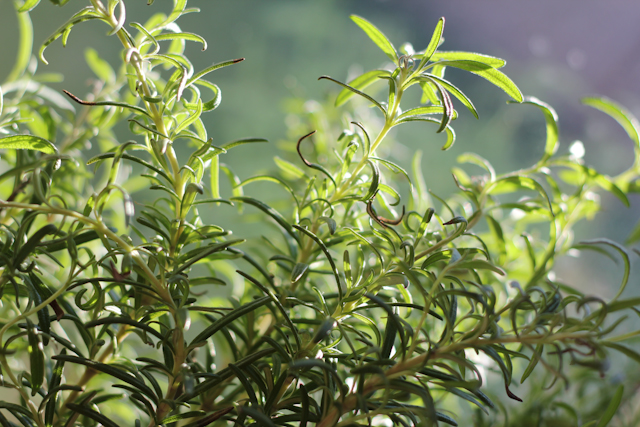
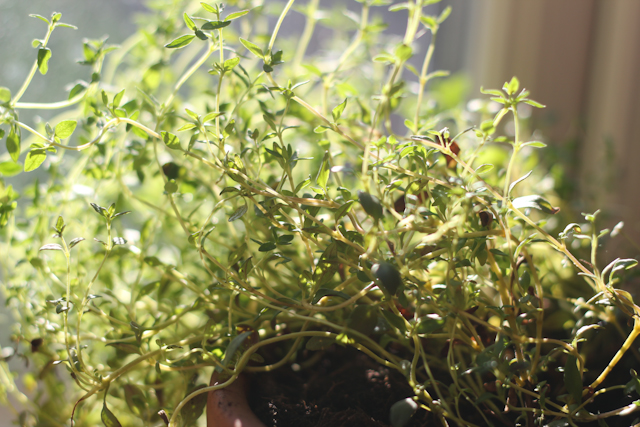
What was my inspiration in choosing the colours? Well, I could say that it's England, the green fields in all different shades of this wonderfull colour and the grass, that stays green even in winter under the snow. And my little garden too. That's why I took some photos of it to show you.

IMG_2349

IMG_2347

Isn't that inspiring? Looking at this pictures I even want to start another project in green... And what usually inspires you?

Hope you are all having a great weekend!

Saturday, 18 August 2012

Fabric balls!

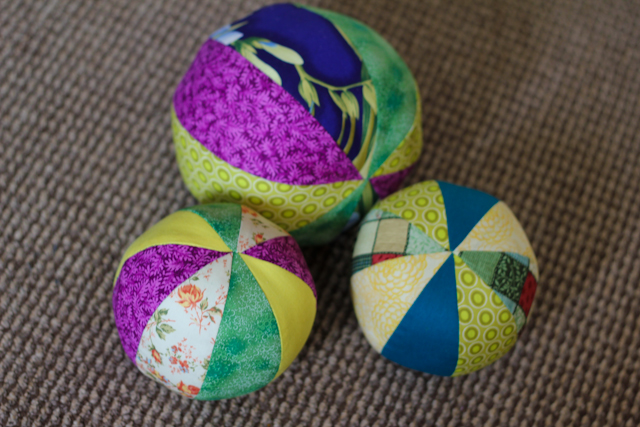
Just a quick little post to show you the fabric balls I made for The Little Man. He really likes them and we are practising some sort of football now :)

IMG_2617

The pattern and tutorial fore them are here: http://www.purlbee.com/fabric-beach-balls/ and if you heven't seen Purl Bee before prepare to waste some time browsing all of their tutorials and ideas, as they've got tons of them for sewing, knitting and crochet lovers!
And I will try to get some sleep and be organized for my shopping and packing tomorrow.

Thursday, 16 August 2012

The owl

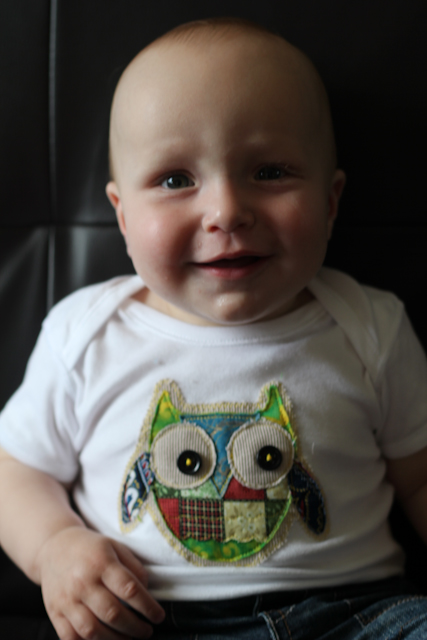
When I was making gifts before Fathers Day I bought three plain vests for our Little Man and made the "SON" aplique on one of them. As I thought it looks fun I had an idea of making some apliques on two other ones. So I searched the Internet and found an Owl aplique pattern which I liked immediatelly. It was a bit too big for a 6-9 months vest, so I printed it out on 70% (not 100%) and made one for the Little Man.

IMG_2612

Looks like he likes it :) It was easy to make and fun to look at so I would really recomend it :)