Pages

Wednesday, 30 January 2013

Hat mood, charity and some Scrap buster hats for babies

Since my last post I had a great crocheting period. I've been in a hat mood. First of all because I noticed that my Little Man's hat, a gift from his grand grand parents, was sliding over his eyes all the time he was outside, so it was obvious that he needed a new hat, the one that would fit. I've searched my stash, found some yarn and grabbed a crochet hook. In the first evening I had to remake it, starting all over again for about 5 times, but after all of that and one more evening the hat was finally finished.
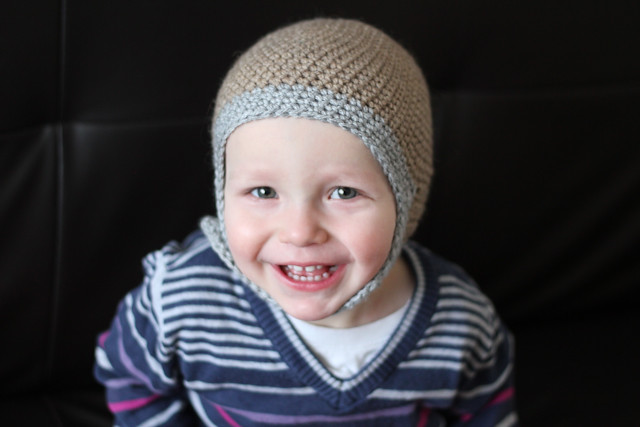
Little Man likes his new hat

As you can see Little Man likes it. It has a big metal button on a side and fits perfectly. Every mum knows that babies are not big fans of hats and if they can pull that hat off, they will. Well, no chance with this one, Little Man was trying really hard but had to give up without even moving it away.
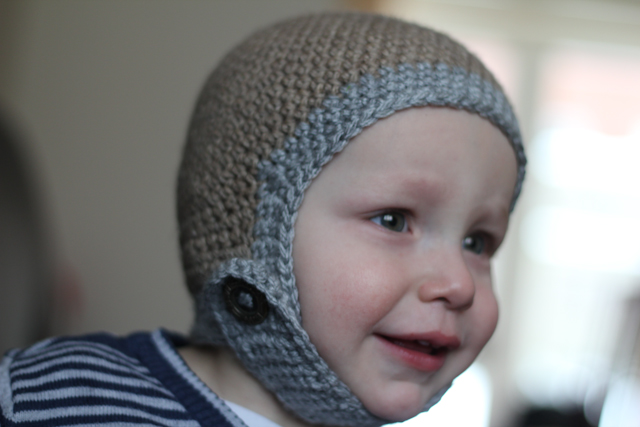
Little Man's new hat

Sadly I wasn't writing down the pattern while working on it. May be I will try to recreate it later as it might be useful for some other babies too.

After finishing that hat I realized that my husband needs a hat too (it was snowing and freezing outside), so from the same yarn in the same evening I made a hat for him. That one was so easy, that I will make a pattern for it and crochet one for myself. Sadly, no pictures of it this time.

Then last Sunday I bought a knitting magazine and found an article about knitting for premature babies there. It was good to know that there are ladies here in England who knit tiny little clothes for premies and give them to the hospitals. While reading this article I felt that a big need for some charity work was growing in me. I wanted to help someone too. But I wasn't sure, that our hospital would take my knitting as I don't think they are dealing with premature babies. So I was thinking about orphanages. Went to the Internet and soon discovered that there are no orphanages in England. Makes me proud of this country again.
And then I remembered that in 2011, when I was pregnant with Little Man I took part in a charity project for orphanages in Russia. I crocheted a blanket for them. Why not to make something like that again? I found one of the project coordinators in the Internet and started crocheting.
Here are three little Scrap buster hats I made for babies:
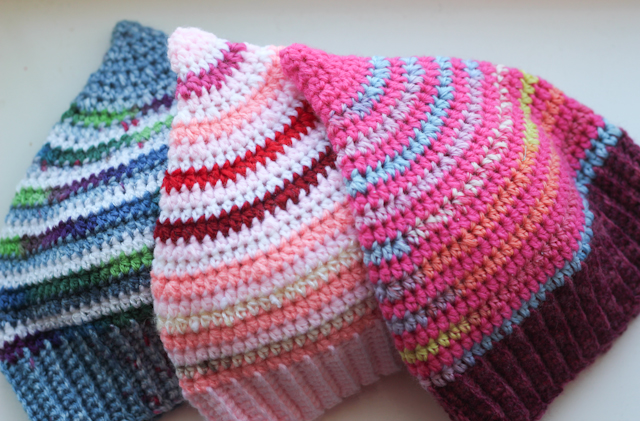
Scrap booster hats for babies

The pattern is A Scrap Buster hat from A Dog in a Sweater. When I saw this pattern for the first time I immediatelly wanted to make a hat like that but wasn't sure that I would wear it. It felt like something too childish, so perfect for babies, not for grown-ups. So when I decided to crochet for an orphanage it was a perfect chance to try the pattern out.
What should I say about the pattern... It's easy. In fact it's super easy and written so good that it's easy to follow even for beginners. The only thing you really should think about before making them, except the size, of course, is the colour. The original hats looked a bit strange to me. No, they were fine, they just looked scrapy. And I wanted to make my hats funny, colourfull, but stylish in the same time. This are still scraps, but it doesn't feel like something that's made from unwanted leftovers.
I've changed the design a bit too as I didn't want to make the long braid like on the original hat, and I wanted mine hats to have a bit of gnome style. So I made following changes: after row 18 I repeated rows 17 and 18 two more times and then crocheted every two together in the next row. As one of the hats was Little Man's size I asked him to be a model and you can see how it looks on babu head:
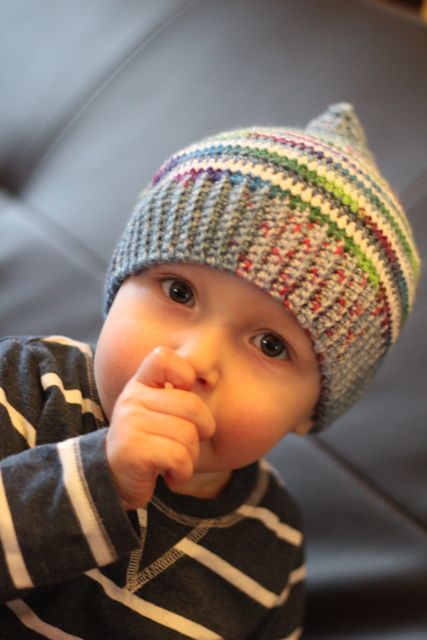
Scrap booster hat and my little man as a model

Now I'm working on two pairs of baby booties from my scraps too for the same orphanage. Will show them to you when they are ready.

Hope you all have a nice day :)

Thursday, 17 January 2013

Infinity scarf and other stuff

Yesterday was a quiet day at home as we decided not to go to Little Man's baby group. It wouldn't be great to share our illness with other little ones. So we stayed at home, played with Little Man's garage and all of his cars. It's so much fun now when he is trying to put one car inside of the other.
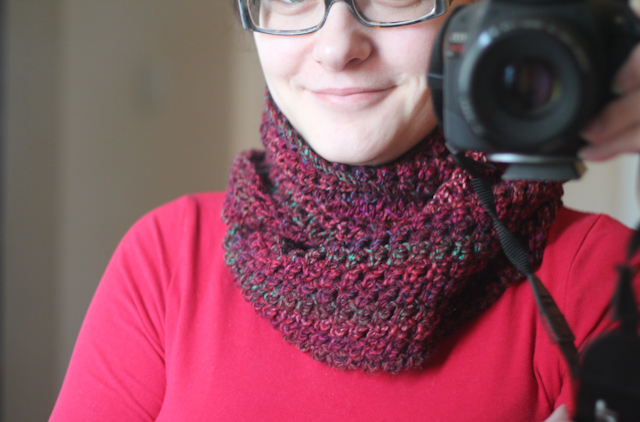
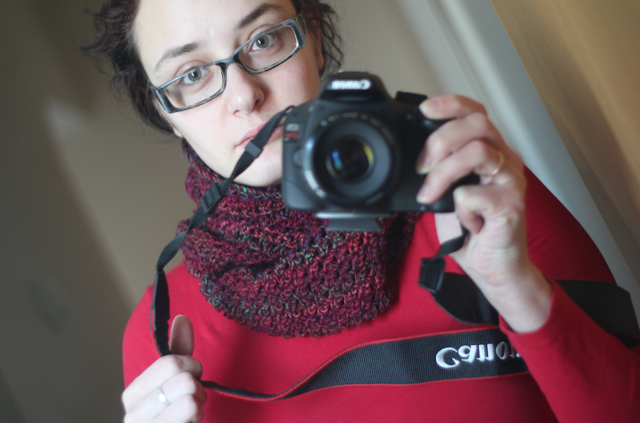
In the evening, searching for something in the Internet, I accidentally found a wonderful round scarf tutorial on You Tube. Probably I'm just really lucky as I often find something useful or beautiful by accident while looking for something else or just browsing the Internet for no particular reason. But, back to scarf - it looked so beautiful and easy that I immediately wanted to try it. Then I had half an hour inner fight with my rational part who tried to tell me not to start another new project while I have so many unfinished ones, but my impulsive part was stronger and I started the scarf. And it was finished by midnight! Just in one evening!

A round scarf for my sister

I'm sooo happy with the result! It will be a present for my sister who lives in Denmark. It's quite cold there at the moment and I hope this scarf will keep her warm. Plus all the nice thoughts of her I had while making it.

A round scarf

For this scarf I used a ball of James C. Brett Marble DK, shade MT9 and 6mm crochet hook. It's 100% acrylic, but I love this yarn for it's gorgeous colours. One ball was enough to make a 16 row scarf. And it turned out to be really warm.
So, are you excited and want to make a scarf too? OK, guys, here is this wonderful video with all the explanations:


The author uses chunkier yarn and 6.5mm crochet hook, but as you can see on my scarf DK works too. Go watch the video and make a scarf for yourselves as it is sooo easy!

After a nice evening yesterday this day just had to be good. And it was especially because we all felt better and the sun was shining, so we even had a short walk out.
Little Man was asking for freedom and straight after he was given what he wanted he fell into snow with his face. And he didn't like it :)

Little Man in snow

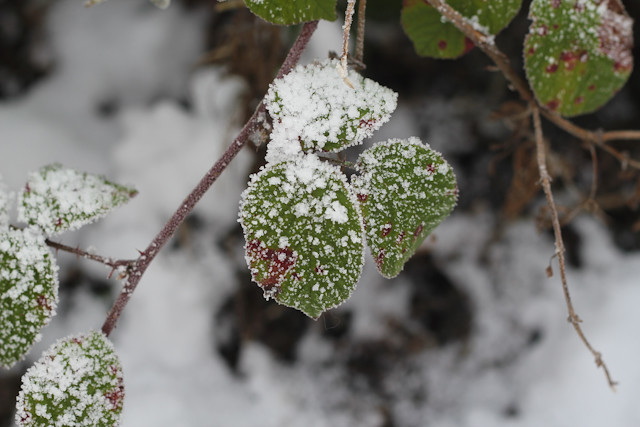
But he enjoyed all the trees and bushes in snow and I couldn't resist to make a picture.

IMG_3538

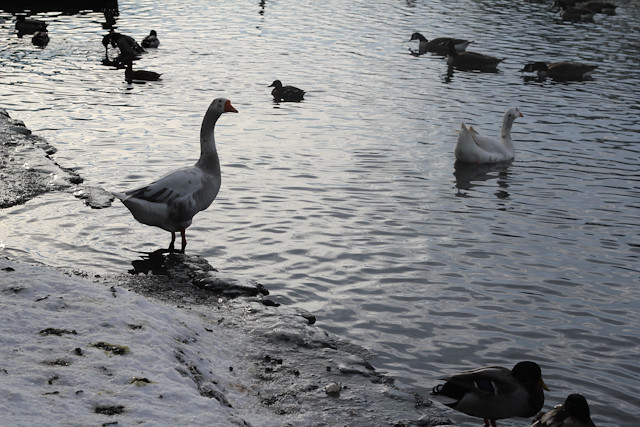
We've seen the ducks and geese to. Last year I was mentioning them a couple of times and we went to see how are they going in this cold weather. Well, they're just fine in the middle of the pond looking really funny when they try to walk on ice.

IMG_3533

If you remember, last spring the swan couple had babies there and now I was really surprised to see how big this babies are grown.

IMG_3535

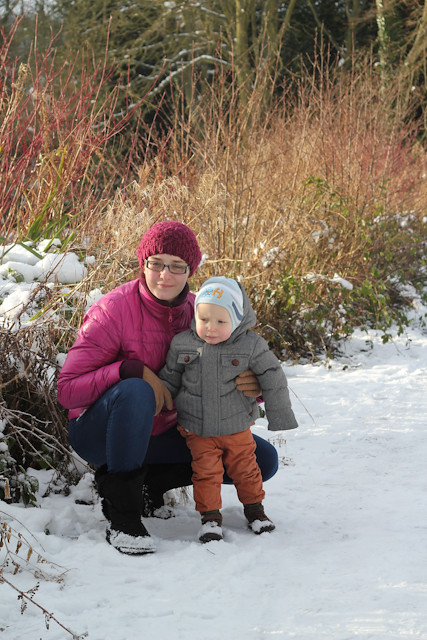
And here is me with the Little Man just before we went back home:

IMG_3550

We do have quite funny faces. Probably it's because we spent more than a week stuck at home and were a bit confused to be out for the first time :)

Hope you all had a nice day too. See you all soon.

Monday, 14 January 2013

Snow!

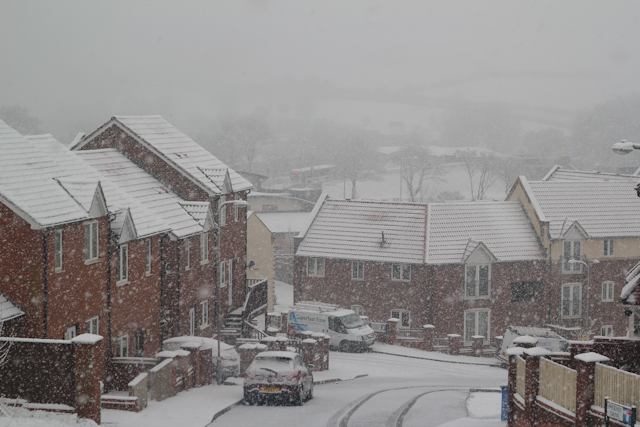
O my God, I got such a great gift from Mother Nature today! It's snowing here! And I do like snow, I like the whole world around being white and quiet and I always have such a Christmas feeling when it's snowing outside. So I couldn't resist and grabbed my camera to catch a couple of pictures as it doesn't snow so often here.
 
IMG_3512

IMG_3508

IMG_3515

And here you go a picture of happy Little Man who is so interested in my camera, that it makes me think that he might become a photographer in the future.
 
happy Little Man

Now it's time to make some tea, light the candles and finish some knitting while Little Man is asleep.

Hope your day was fab too and let it end with a nice evening :)

Saturday, 12 January 2013

This is going to be a blanket...

It was a nice day today. This morning was the first morning in a really long time when I woke up and felt HAPPY for no reason. And it was such a nice, light feeling! Hope I will have more mornings like that in 2013 :)
Today I will show you a sneak peak of a project I'm working on and probably will be working on for another couple of weeks.

IMG_3445
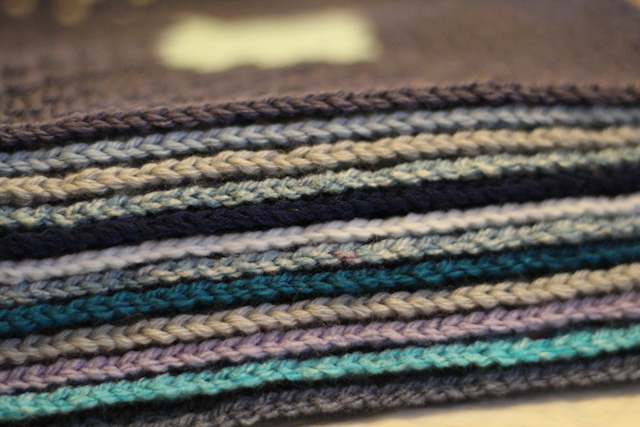
This is going to be a blanket. A special blanket for my dad in different shades of blue on a grey background as blue is his favourite colour. And when it's finished it's going to be the biggest blanket I made so far. At the moment I've got 17 finished granny squares (12 rows each) and need another 18 to start putting them together. Hope he likes it when it's finished :)

And now it's time for a bit of evening knitting - I'm finishing a pair of socks for my grandpa on his birthday.

Hope you all have a nice evening too :)

Friday, 11 January 2013

First little projects 2013

Hi everyone! Hope you all had a lovely Christmas and New Year!
This is my first post in 2013 and the first post after quite a long silence over here. I had the reasons for that silence, but hope not to do so again. In fact I really hope to post more often in 2013.
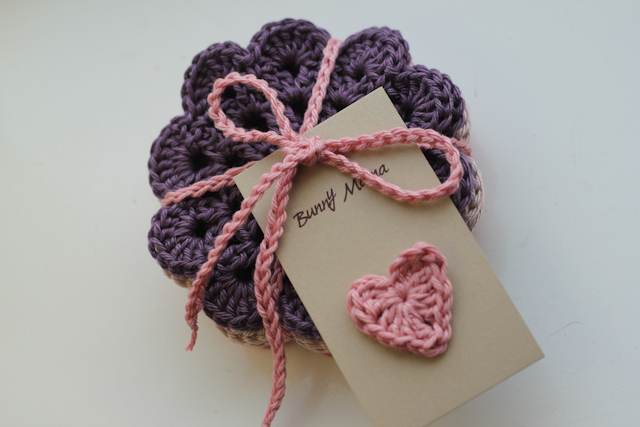
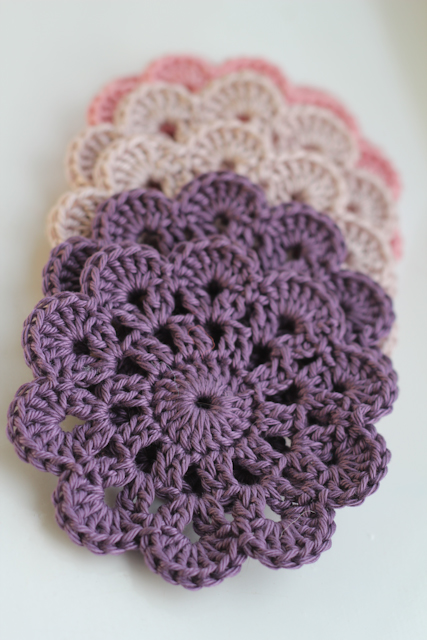
Anyway, I've started this year with a crochet hook in my hand and allready have two little projects finished. The first project was a set of coasters as a gift to one lovely lady.
 
IMG_3468

IMG_3458

In fact I saw a wonderful picture on Pinterest and was immediatelly in love with what I saw, so I wanted to make the same. And then I found the original pattern with a picture and was complitelly shocked about the fact that they look soooo different. Which made me thinking of how our choice of material and colour can change the look of our finished works. Honestly, if I saw just the original pattern picture I wouldn't probably even look at it and wouldn't like to make something of the same kind for shure.

So you would understand, here is the thing that inspired me:
 

And here is the picture in the original pattern:


See the difference? Well, that is why I wanted to show it. The material and colour can really change the look of your work and make it beautiful, modern, professional or it can make your work boring and unattractive.
By the way, my coasters are made from mercherised cotton (DK) using 3,5 mm crochet hook.

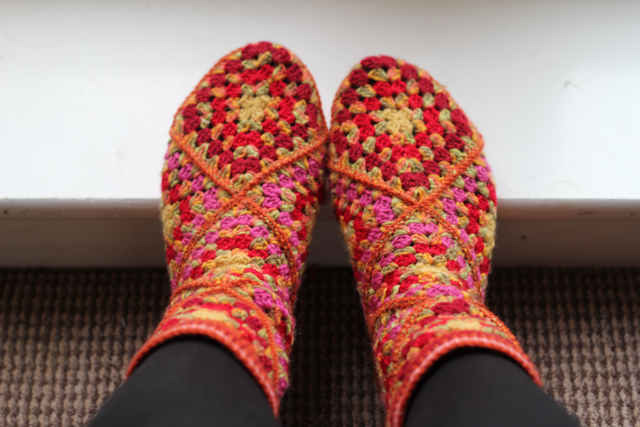
Ok, finished with the first little project and now it's time for the second one - my super funny granny socks.

IMG_3492

As my feet were freezing for a while and the floor in our living room, dining room and kitchen is really cold I was dreaming of a pair of socks for myself. But between October and December I knitted so many socks (2 pairs for my husband, 4 pairs for my little man, 3 pairs for sale), that I just felt sick thinking of knitting one more pair. I needed a break. But I needed some socks too. And then just by accident I found a video on YouTube about how to crochet socks from granny squares. I thought it could be a nice option for me and after a little search on-line I found a webpage with all the information I needed: the patterns for squares and a super long video showing how to crochet it all. Sadly, it's all in Russian, but if you can read the crochet charts I'm shure you can make it.
But! It all looks easy, and it is easy in fact, but takes a while to make. My socks took 5 days (the usuall knitted pair would take 2-3 days to finish) and you will need about 150g of yarn, or may be a bit more (mine took 160g).
Still it's a good option for those who can't knit or for crochet beginners. May be I'll even make an English tutorial on how to make this socks... We'll see how it all goes.

Have a nice day with lots of sunshine!

Friday, 9 November 2012

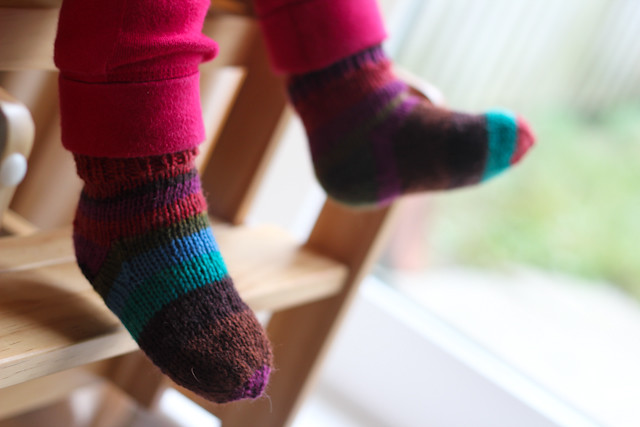
Baby socks free pattern. 12 - 18 months

It is getting colder and I'm knitting lots of stuff to make my Little Man ready for the winter. And some warm socks are a must-have thing, so I made a couple of pairs and can share the pattern with all of you.

Baby socks, 12-18 months

So you will need a bit of sock yarn (4ply) and 2.5mm double pointed needles. What is sock yarn? It's quite thin, about 200m in 50g, and usually it has 75% wool (or more) and some nylon in it to make the socks stretchy and washable in the washing mashine (on mild wash still). You can use other yarns, of course, in fact if you use a thin DK yarn with the same size needles it will still give you the same size. Just check the gauge before you start :)

Gauge: 4 rows X 2.5 st = 1 X 1 cm

Abbreviations used:
st - stich
k - knit
p - purl
k2tog - knit 2 together
p2tog - purl 2 together
ssk - slip slip knit (here is the on video how to do that)

Cast on 32 stiches and divide them between 4 needles. You have to cast on really loosely, so I would adwise to cas on on two needles (just put them together and acst on as if they were one, then remove one of the needles and divide the stitches between four needles). There will be 8 st on each needle then. We'll work in rounds starting with the 1x1 rib.
Round 1: *k1, p1*, repeat from * to * till the end of the round.
Rounds 2 - 9: repeat round 1
Round 10: knit
Round 11 - 23: repeat row 10
then work only on first and second needle, which means - with 16 st. Take them to one needle and work in rows.
Row 24: knit 16, turn
Row 25: purl 16, turn
Row 26 - 33: repeat row 24-25.
Row 34: knit 11, ssk, turn
Row 35: take the first st off to the holding needle to the working needle (don't purl it!), purl 7, p2tog, turn
Row 36: take the first st off to the holding needle to the working needle (don't knit it!), knit 7, ssk, turn
Row 37: take the first st off to the holding needle to the working needle (don't purl it!), purl 7, p2tog, turn
Row 38: take the first st off to the holding needle to the working needle (don't knit it!), knit 7, ssk, turn
Row 39: take the first st off to the holding needle to the working needle (don't purl it!), purl 7, p2tog, turn
Row 40: take the first st off to the holding needle to the working needle (don't knit it!), knit 7, ssk, turn
Row 41: take the first st off to the holding needle to the working needle (don't purl it!), purl 7, p2tog, turn

And you'we done the heel!
Now you have 8 st on the heel. Take the first st off the holding needle to the working needle and knit that  7 remaining st from the top of the heel, then cast on 10st along the left side of the heel, knit the stiches from 3rd and 4th needle, cast on 10 st along the right side of the feel and knit 4 st from the top of the heel. Now you should have 14 st on the 1st needle (10 from the side of the heel and 4 from top of the heel), 14 st on the second (the same as on the first one), 8 st on the 3rd, 8 st on the 4th.

Now we'll start making the decreases as we need to have 8st on each needle and we have much more than that on the 1st and the 2nd needle. Remember that we just finished knitting the stitches from the first needle. Now we'll work in rounds again making the decreases in the beginning ot the 1st and in the end of the 2nd needle as follows:
Round 42: knit 12 st from the second needle, k2tog, knit st from the 3rd and the 4th needle
Round 43: ssk, knit 12 (first needle), knit 11, k2tog (second needle), knit 8 (3rd needle), knit 8 (4th needle).
Round 44: ssk, knit 11 (first needle), knit 10, k2tog (second needle), knit 8 (3rd needle), knit 8 (4th needle).
Round 45: ssk, knit 10 (first needle), knit 9, k2tog (second needle), knit 8 (3rd needle), knit 8 (4th needle).
Round 46: ssk, knit 9 (first needle), knit 8, k2tog (second needle), knit 8 (3rd needle), knit 8 (4th needle).
Round 47: ssk, knit 8 (first needle), knit 7, k2tog (second needle), knit 8 (3rd needle), knit 8 (4th needle).
Round 48: ssk, knit 7 (first needle), knit 8 (second needle), knit 8 (3rd needle), knit 8 (4th needle).
Now you should have 8 st on each needle.

Knit 24 more rounds with no decreases.

NB! This quantity of rows is calculated from the average lenght of baby foot at this age, which is 12.5 cm. But please note that all babies are different and some of them can have much smaller or bigger feet at the same age. For example, Little Man is only 11 months old, but his feet (well, the whole baby in fact) are quite big, exactly 12.5 cm. So, before you start knitting I would advise you to measure your baby's feet and adjust this part to your baby's actuall size by knitting more or less than 24 rows.

Then you need to start decreasing to form the toe:
Round 1: K2tog in the beginning and end of each needle (6st on each needle)
Round 2: knit
Round 3 - 4: repeat rounds 1-2 of the toe (4st on each needle)
Round 5: knit every two st together (2st on each needle)
Round 6: knit every two st together (1 st on each needle).
You will have 4 st left. Cut the yarn leaving 10cm long tail. Using the tapestry needle sew the last st together and hide the yarn ends.
Repeat for the second sock!

If you knit some socks using my pattern, please leave a link to the picture of your creation in comments. I'd love to see it :) And please let me know if you find any mistakes in the pattern too.

Two blog project. Stage two.

So, Kristina posted the second picture for our two blog project:

Actually, she posted it on the 5th of November and I just was too busy with baby stuff to repost and tell a bit more about it. This means I have to have the square done till the 26th of November.
As it's a swirl I allready have the idea of how to make it, just need to find the matching yarns. Probably it will be a bit tricky to follow the nice lines of the house roofs but I really want to try it as I like them, especially the big red one in the bottom.

At the moment I'm working on the new sock pattern, 12-18 months this time. Tomorrow I will test it and hopefully will be able to share it the same day. But it definetly needs some testing before posting it to the blog as I'm a bit worried about the details and want to make it really clear and easy to follow. So see you all tomorrow and get your needles ready in case you are in need of some baby socks :)